GETTING STARTED / 07
Build an AI Passport app with Claude Code
Let Claude Code understand the app project and hardware constraints, produce an installable build, and refine it from device feedback.
Start with one simple idea
Describe your app in one sentence. Start with one thing it should do well, such as a learning exercise, a short game, or a reminder. You can add more screens and features later.
- Name the user and real context
- Define where one complete interaction starts and ends
- List what version one must include and explicitly excludes
Open the app directory in Claude Code
Start Claude Code from the app project root. Ask it to read the project instructions, build scripts, target-chip configuration, and the closest examples, then explain which files it plans to change.
Build  using the complete project at https://gitee.com/FoloToy/ai-passport; reuse a local checkout if available.
Read AGENTS.md and docs/README.md first, then consult relevant documentation, hardware interfaces, and examples as needed. Prepare the environment and install the Skills required by the project.
Preserve existing changes and develop on a new branch. Reuse the BSP and design a fresh application UI instead of copying the demo; check font coverage for Chinese text. Ask when key requirements are unclear and handle the rest autonomously.
Run project validation and deliver merged firmware flashable from 0x0. Report test results and anything unverified. When finished, proactively ask whether to test on hardware; do not flash without confirmation.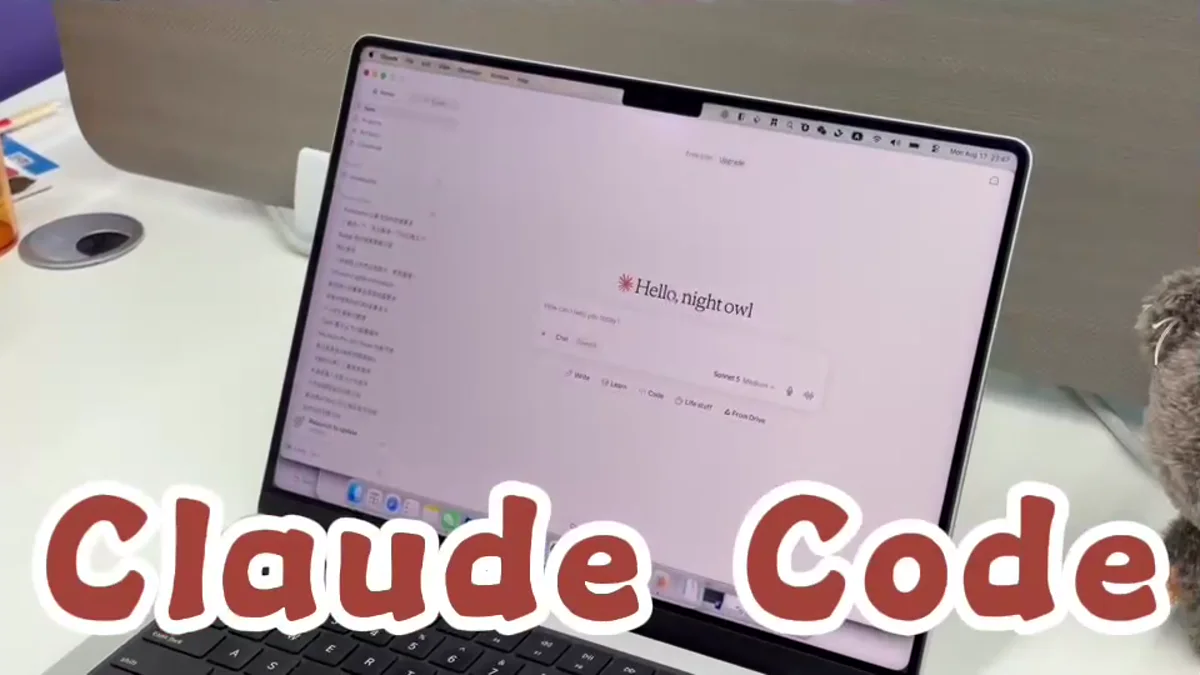
Preserve the project's existing structure and commands. Reuse current display, button, and asset-loading code before introducing unrelated refactors.
Add the AI Passport hardware constraints
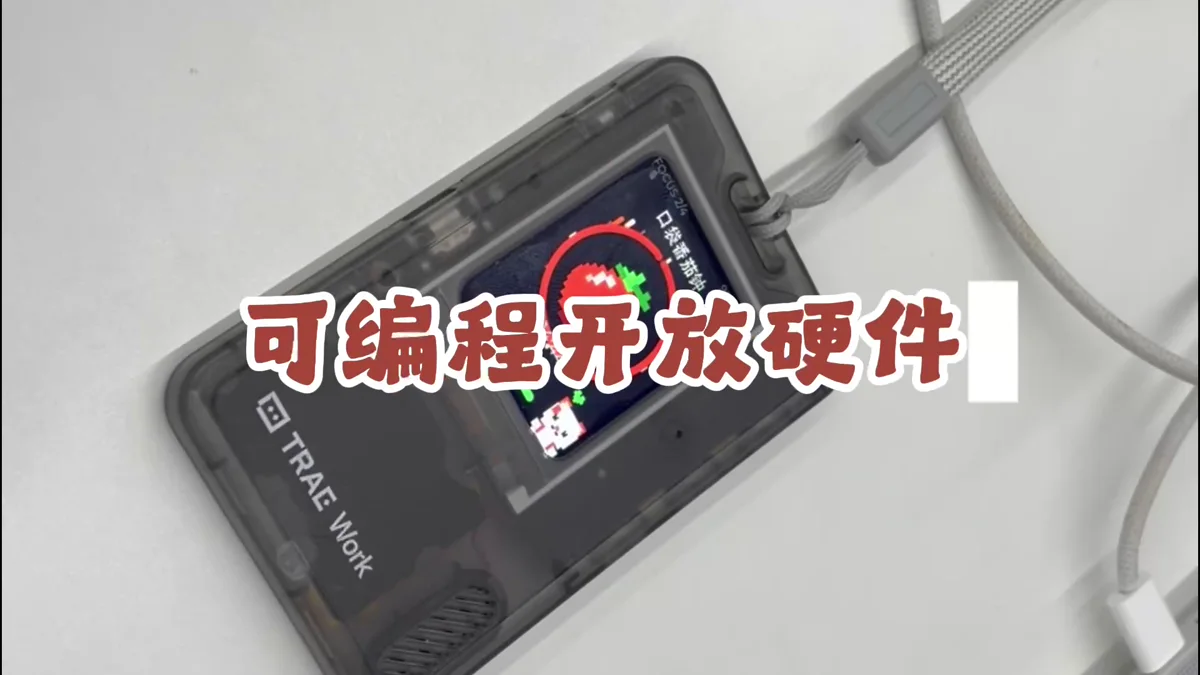
Include the display, three physical buttons, audio, and connection capabilities in the task. Describe every screen state and exit path, and tell Claude Code to follow the hardware interfaces already supported by the project.
- Display content, refresh behavior, and asset limits
- Up, Down, and Confirm behavior
- Offline, Bluetooth, networking, or storage needs
- Startup, failure, retry, and exit states
Let Claude Code edit, build, and summarize
Ask Claude Code to follow the plan, build the project, run its checks, and fix any errors. Have it summarize the changes and test results, and tell you where to find the firmware file.
If only the source changes are complete, ask it to run the real build. Continue to installation only after the build succeeds and the artifact exists.
Install the app on a development device
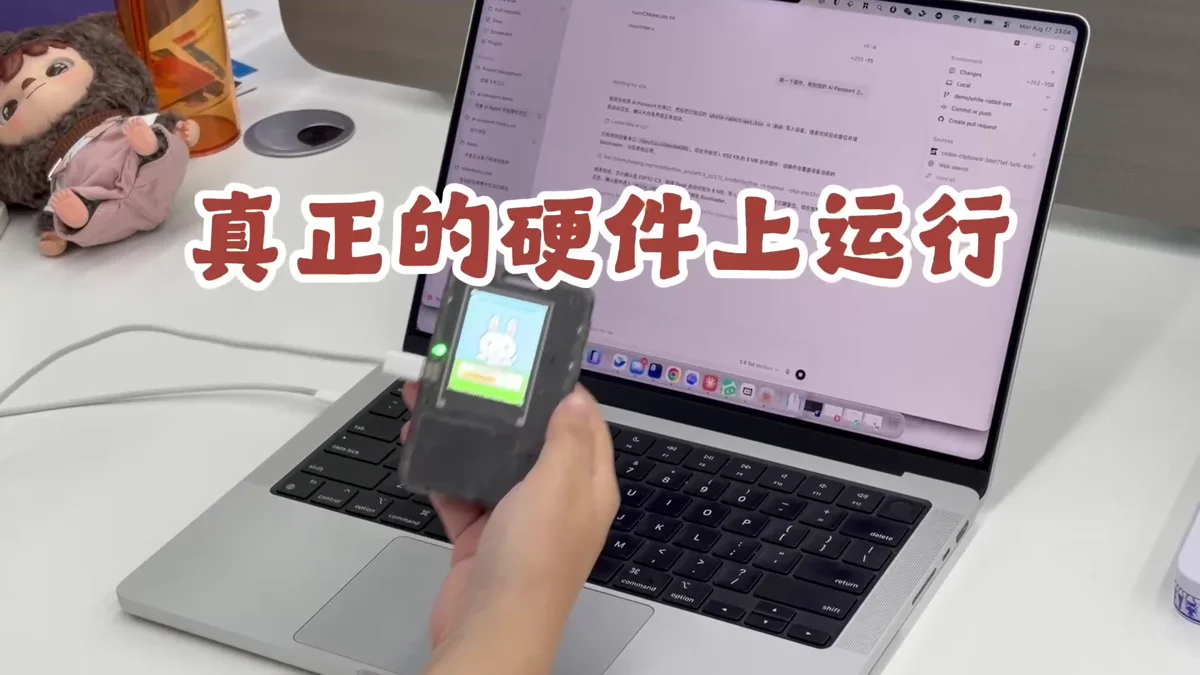
Use the web flasher to select the Claude Code build. Verify the device and file before installation, restart afterward, and check the first screen, buttons, audio, and required connectivity.
- Keep a recoverable build before installation
- Maintain a stable USB connection while writing
- Record unexpected visuals, reproduction steps, and device logs
Continue from hands-on feedback
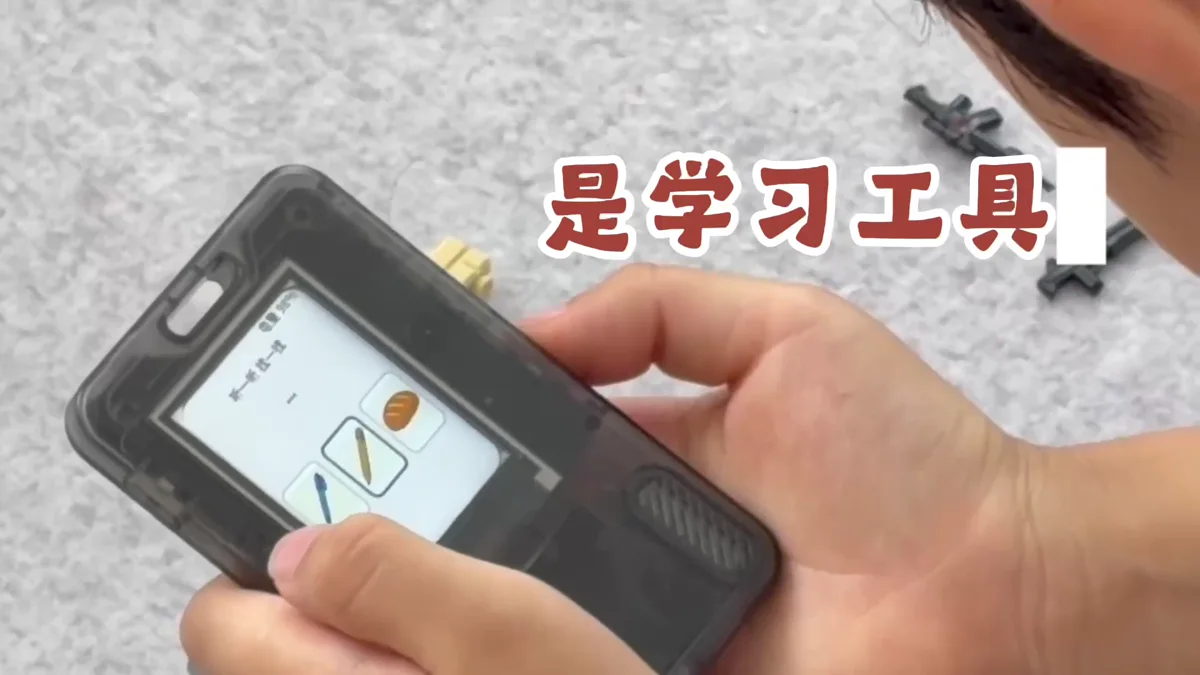
Have the intended user complete one real task with the device. Observe whether instructions are clear, controls feel natural, and feedback is timely. Return the most important issues and reproduction steps to Claude Code for another focused change.
- Fix issues that block the core flow first
- Change only a small set of testable details per iteration
- Save the source commit, firmware, and test notes for each stable version