GETTING STARTED / 08
Build an AI Passport app with TRAE
Describe the app in TRAE Work, complete the code and build, then install the new experience on a wearable AI Passport.
Connect the device and confirm the install baseline
Connect AI Passport with a USB data cable and install one published release from the App Library. This confirms the browser serial permission, cable, and device before custom development.
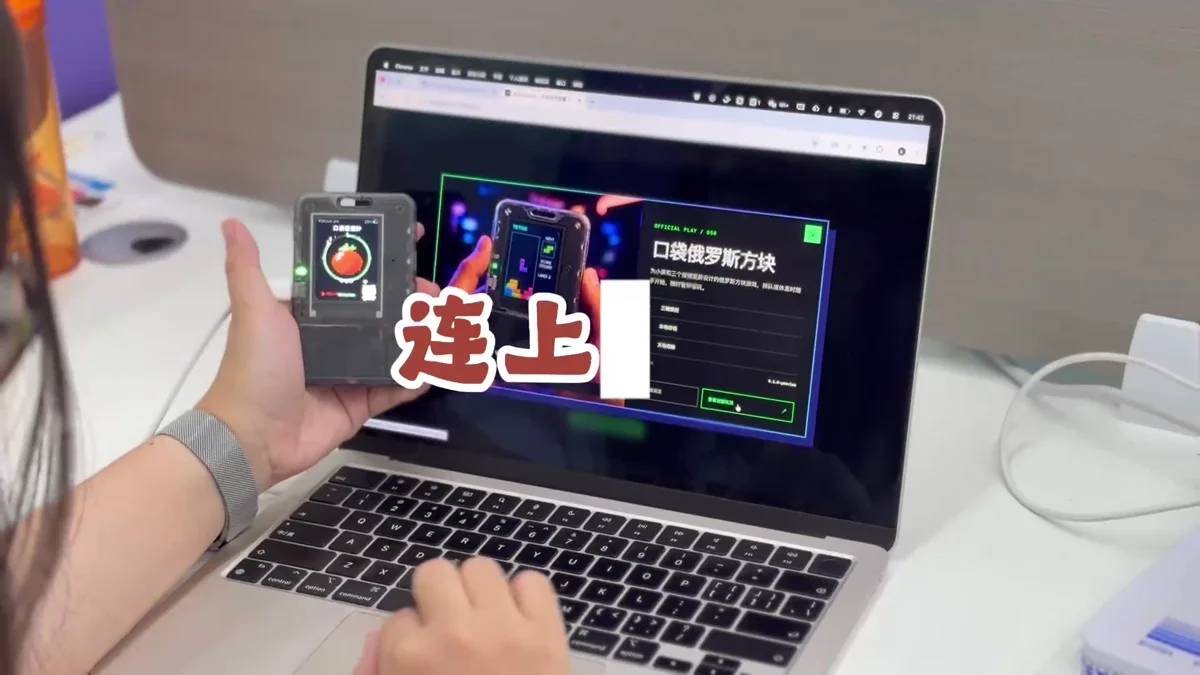
Check that you can install and restore firmware before you start building your own app.
Open the app project in TRAE Work
Open the project folder in TRAE Work. Ask the agent to read the project instructions, build scripts, hardware documentation, and examples, then explain its plan before making changes.
Build  using the complete project at https://gitee.com/FoloToy/ai-passport; reuse a local checkout if available.
Read AGENTS.md and docs/README.md first, then consult relevant documentation, hardware interfaces, and examples as needed. Prepare the environment and install the Skills required by the project.
Preserve existing changes and develop on a new branch. Reuse the BSP and design a fresh application UI instead of copying the demo; check font coverage for Chinese text. Ask when key requirements are unclear and handle the rest autonomously.
Run project validation and deliver merged firmware flashable from 0x0. Report test results and anything unverified. When finished, proactively ask whether to test on hardware; do not flash without confirmation.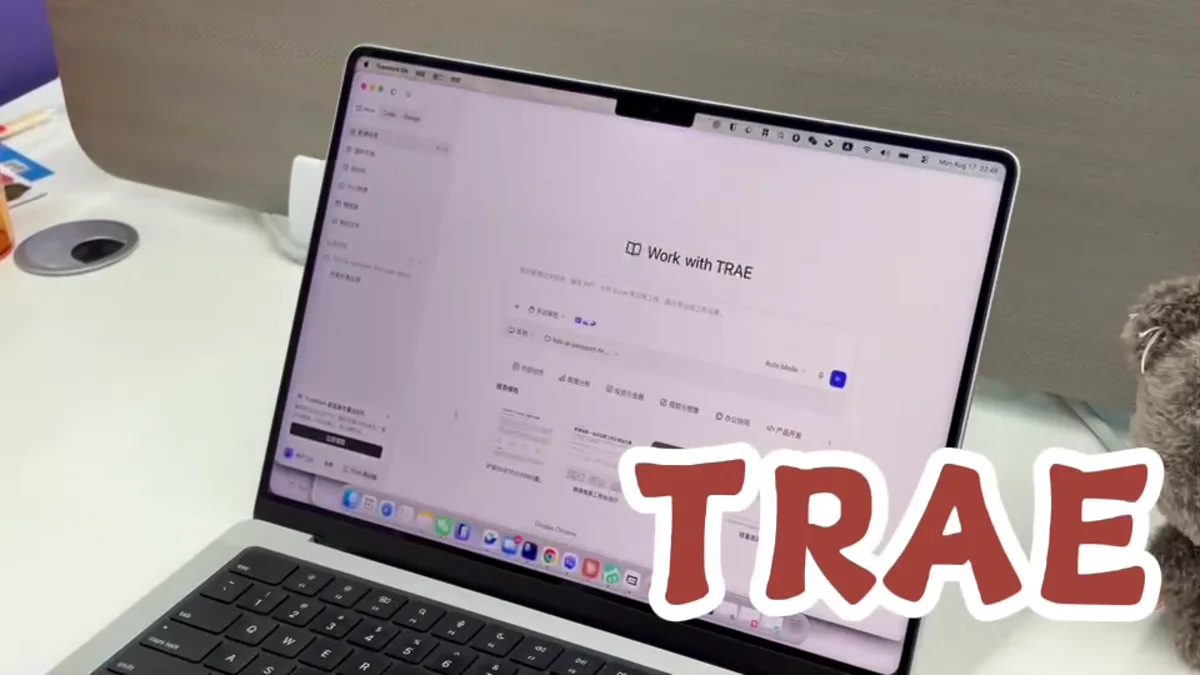
Keep modifications and command execution inside the project instead of generating a detached code snippet in chat.
Describe what you want to build
Describe the context, first screen, interaction flow, and successful outcome in plain language. Add requirements for the three physical buttons, audio, Bluetooth, or networking, and keep the first version small enough to verify quickly.
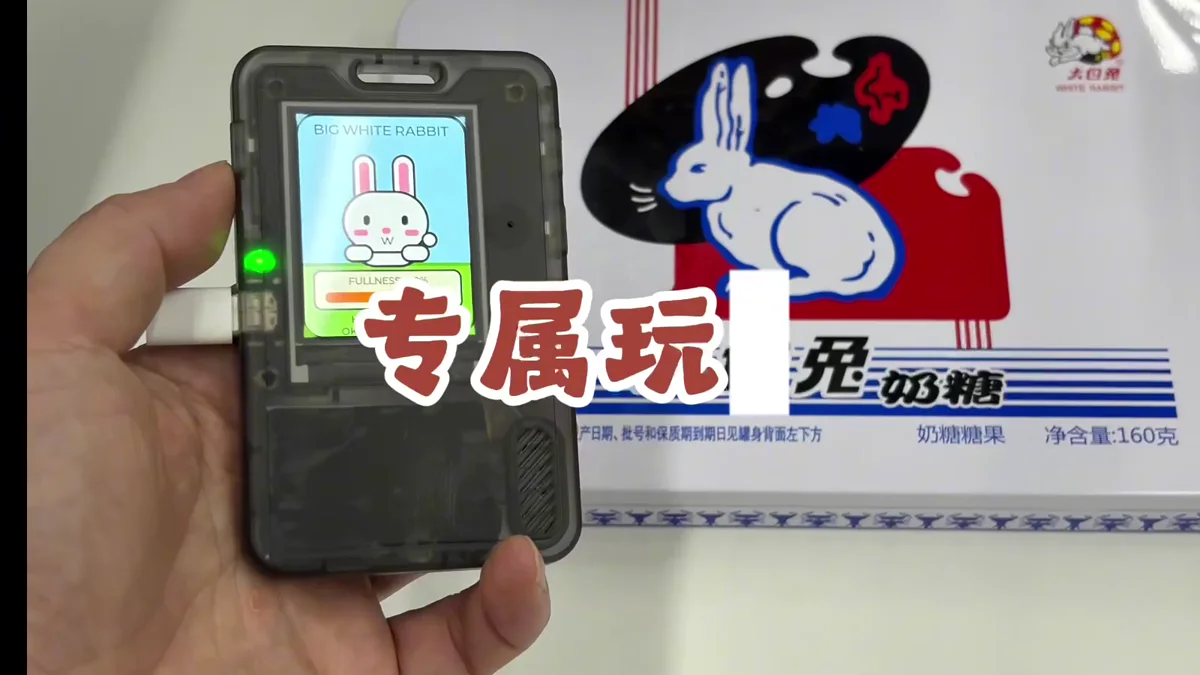
- Who uses it and in what context
- Screens and states that must appear
- How each physical button behaves
- Definition of done and explicit version-one boundaries
Let TRAE code, build, and check the result
Ask TRAE to follow the plan, build the project, and fix any errors. Have it list the changes, test results, firmware file location, and anything that still needs testing on the device.
Make sure the code builds successfully and produces a firmware file you can install.
Install the app and check each feature
Open the web flasher, select the TRAE build, and write it to the test device. Restart and check the first screen, buttons, audio, connectivity, and failure recovery.
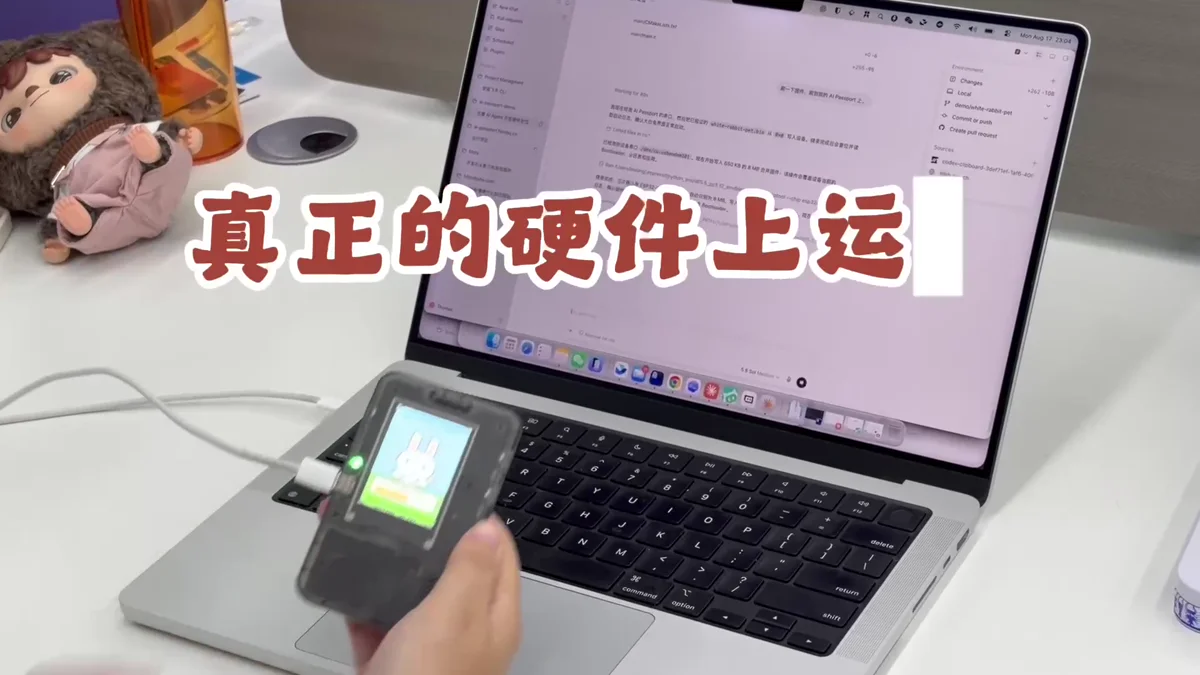
- Keep USB connected while writing
- Test on a development device and retain a recovery build
- Record reproduction steps and logs for every failure
Use it as a wearable device
Wear or carry the device long enough to check outdoor readability, one-handed controls, connection stability, and battery behavior. Return the highest-impact issues to TRAE for another focused edit, build, and installation cycle.
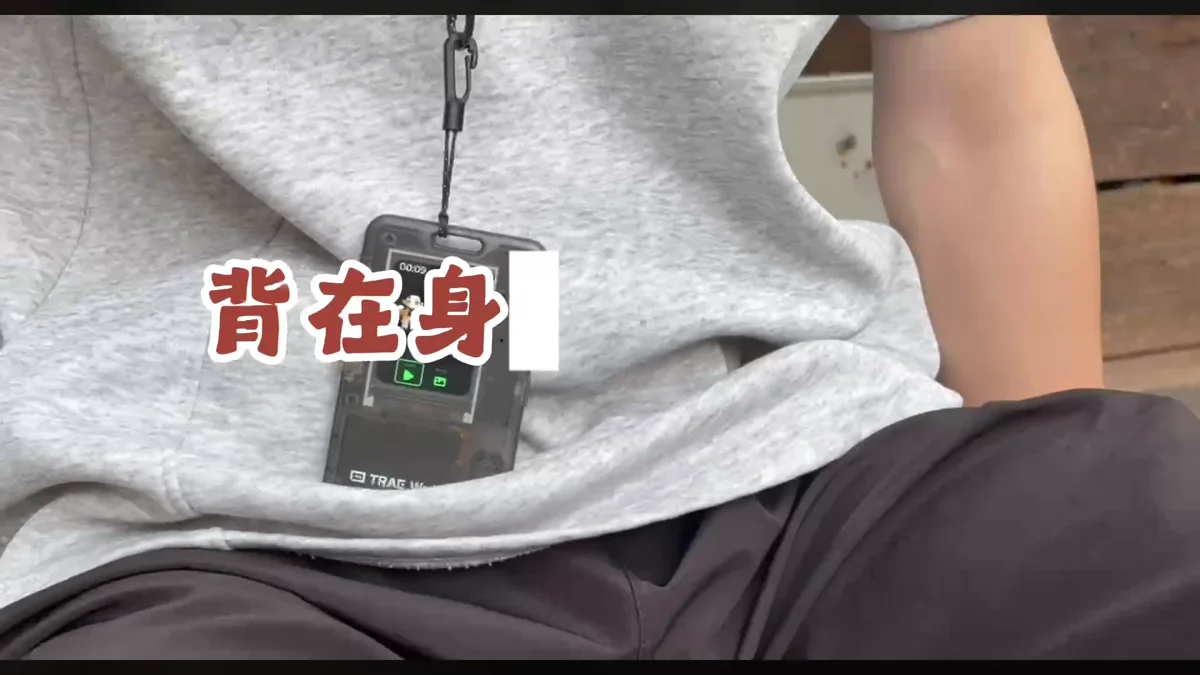
- Prioritize real context over a desk demo
- Address only a small set of important issues per iteration
- Back up the code and firmware for every stable version